-
Step 1
Start SolidWorks and open the model to render.

-
Step 2
Tools>>addins.

-
Step 3
Check the Photoview 360º.

-
Step 4
Click Edit Scene.

-
Step 5
Align the Floor. Click OK.

-
Step 6
Click Appearance, Scenes and decals.

-
Step 7
Under scenes select the scene.

-
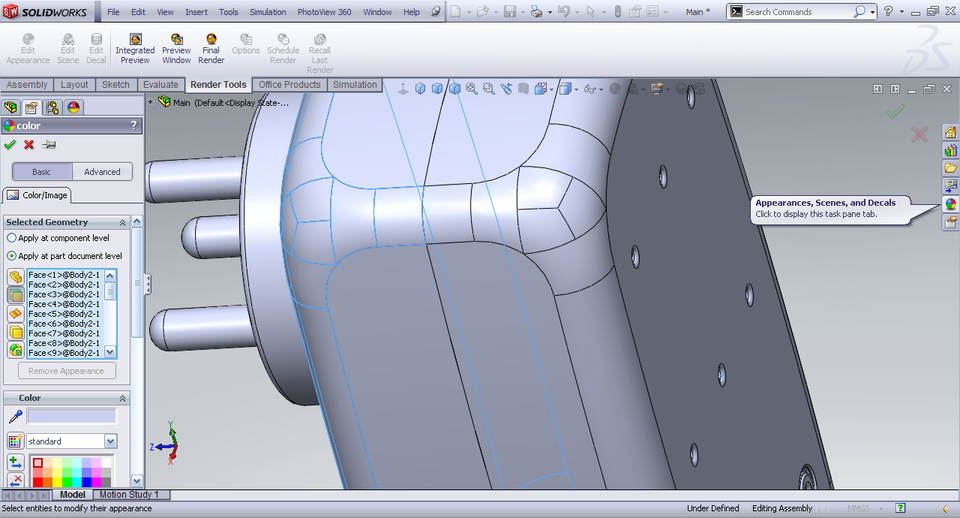
Step 8
Select the face to apply appearance and then click appearance icon.

-
Step 9
Select face to apply appearance to face.

-
Step 10
Select all faces on which to apply appearance.

-
Step 11
Click Appearance scenes tab.

-
Step 12
Select the type of appearance.

-
Step 13
Again select the part. Click appearance icon.

-
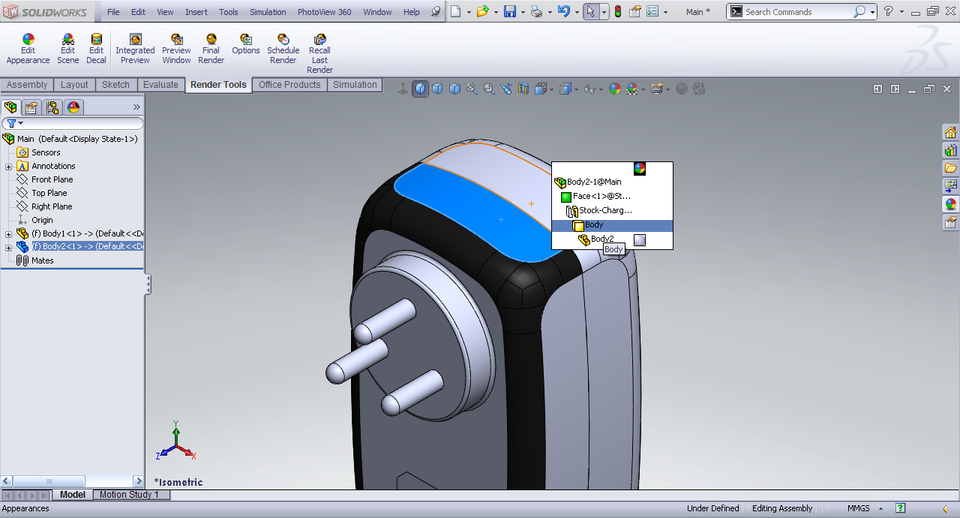
Step 14
Select body to apply appearance to the body. Since we have already applied appearance to some face so they will be excluded.

-
Step 15
Select the appearance for rest of body.

-
Step 16
Now selecting the rod.

-
Step 17
And applying apperance to its faces.

-
Step 18
Click OK.

-
Step 19
Repeat the steps for applying apperances to other part.

-
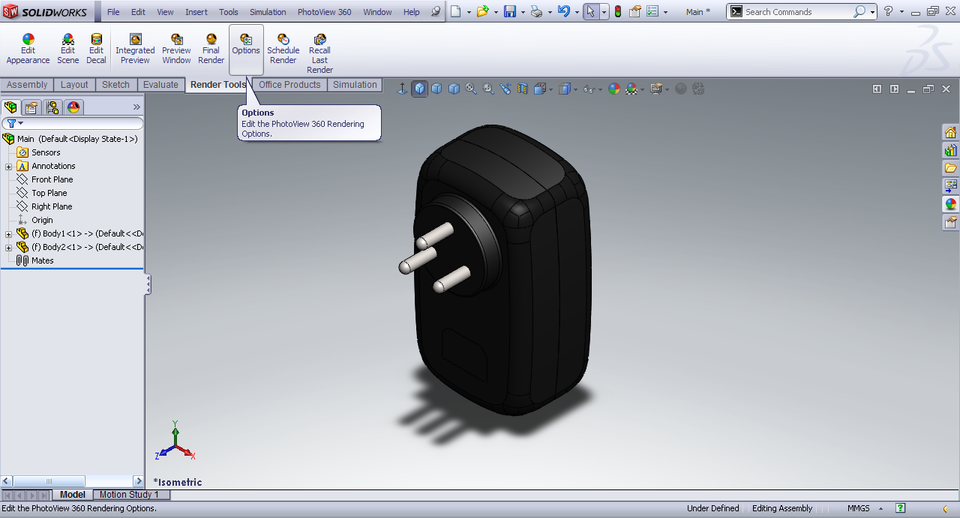
Step 20
Click Options.

-
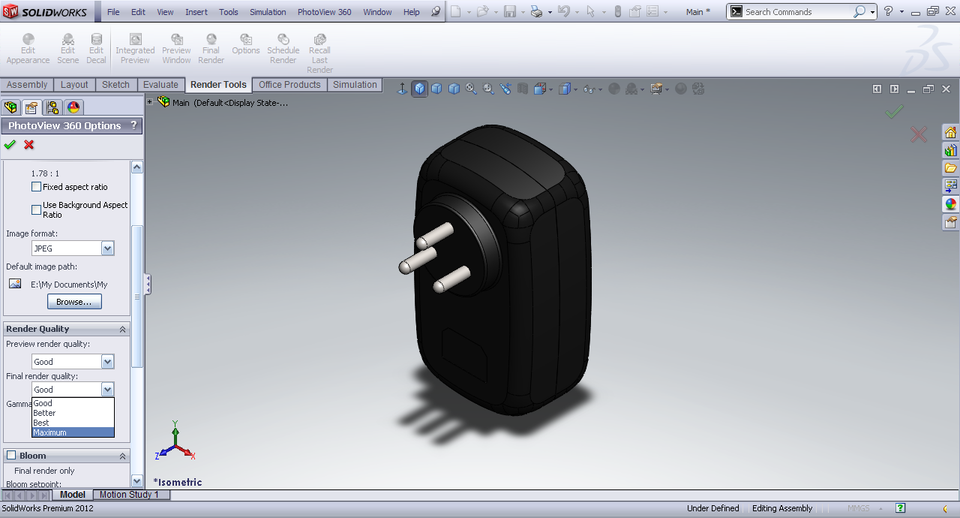
Step 21
Change the render quality and size here.

-
Step 22
Now press F9 or click Hide FeatureManager.

-
Step 23
Zoom to fit or press middle mouse button. Click Final render.

-
Step 24
And we have render. Click Save Image to save it.

Sunday, 7 October 2012
Rendering Part models in SolidWorks
This is how to render best rendering part models


Subscribe to:
Post Comments (Atom)
No comments:
Post a Comment